Falling cherry blossom petal for spring mood particle
If you are new to particle creation, you should read this particle basic first because I will not explain these functions in detail. I will instead explain the thought process that comes in my mind during each creation. Now let's get started.
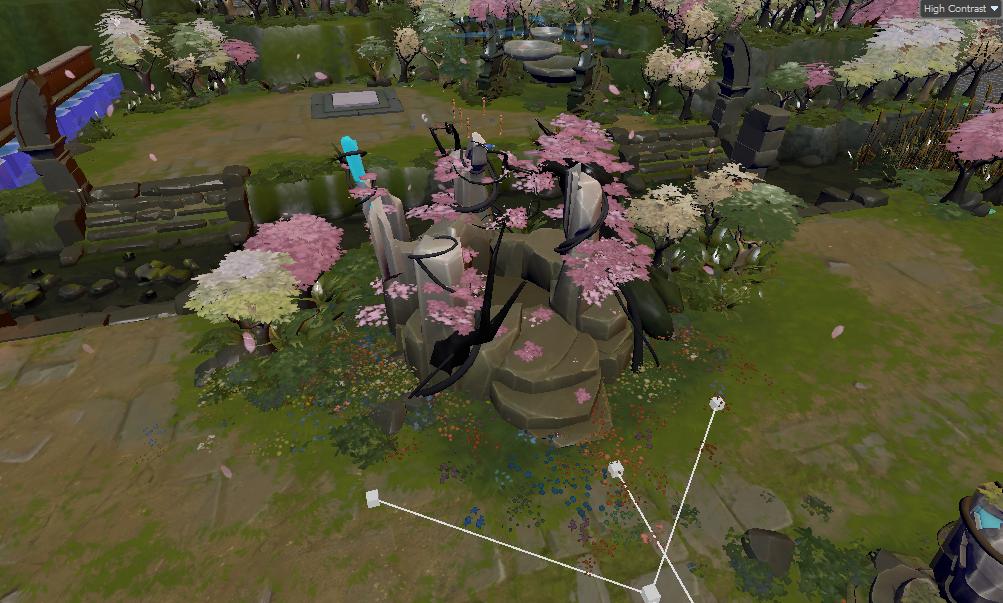
I was working on my map the other day in the following image.

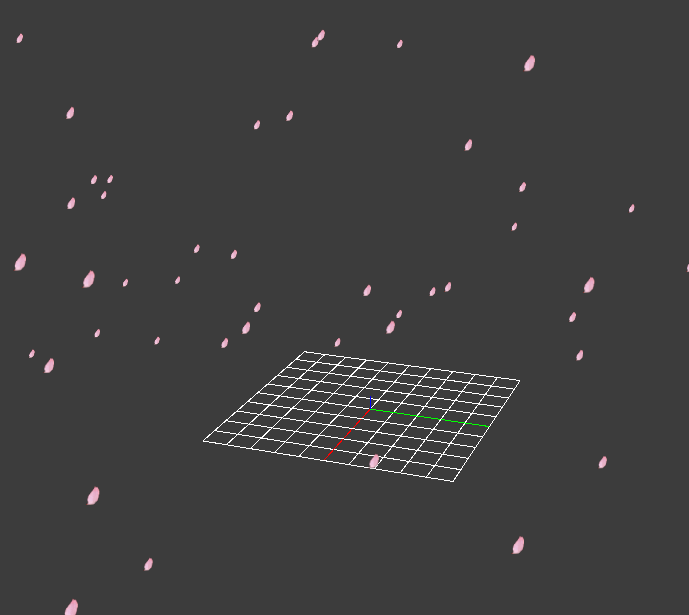
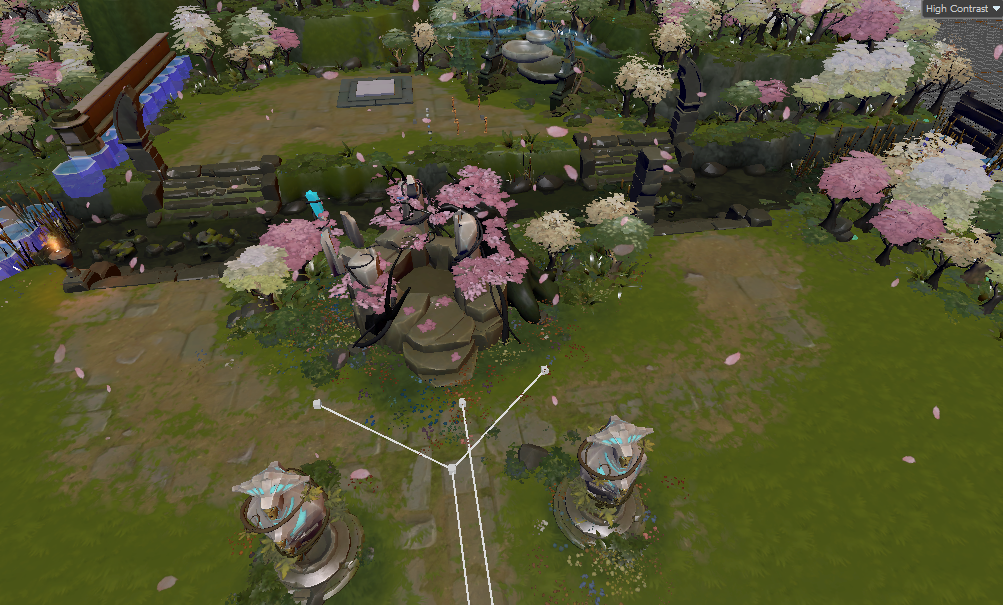
I feel like it lacks some kind of "spring" mood to it. So I feel like there should be petal falling down. Since it's pretty simple to do, I feel like I should include this as example in the tutorial. The end result will be like following image. You might not see much with static picture, but after you are finished, there will be those petals flying around in your map.
If you know what to do, you can simply add these functions to your system. I will also explain in detail on my thought process and steps on creating this as well.
```lua Render sprites Lifespan decay Alpha fade out simple Movement basic Rotation basic Noise vector Rotation spin roll Radius scale Alpha fade in simple Rotation random Position within sphere random Alpha random Lifetime random Radius random Emit continuously ```Now if you want to know further detail on this system then
- open up particle editor- create a new particle.
Now I want petals to show up.
- Add "Render Sprites" in Renderer since there is no self-animation involved in this system.- Now I check orientation type, it's already set to "Screen Align" so it's good to go.
- Scroll down to the texture field, you can see the circle sprite.
But I want petal sprite for this situation, falling circle might be able to work as snow but not for spring.
- Click on Magnifying glass to open up browser.- In this point, you can use your custom vtex material as a texture but in this tutorial, materials/particle/flower/flower.vtex will do the job.
Now that renderer is up, I need an emitter to show my petal.
- Add "Emit continuously" in Emitter since I want my petals to keep falling down.Don't forget to change your max particles number in Base Properties and emission rate accordingly so your particle system will not overflow with too many particles. In this tutorial, I set mine to 160 as I think that should do the job. Now your screen should have something similar to this.

Now that it shows the petal, but there is nothing going on yet. Since I want these petals to move and disappear at some points, I continue on to next step:
- Add "Lifespan decay" in Operator since I want them to disappear at some points.- Add "Movement basic" in Operator since I want them to move at some points.
Now I do feel like this scene somewhat needs a gravity since petal will be falling down in some directions. So I make some changes to the value in Movement basic as follows:
| Field | Value |
|---|---|
| gravity | 100 -100 -200 |
| drag | -0.4 |
The gravity is freely adjustable to your taste, but I like mine to go in this direction. Your result should be something similar to this.

Now I have the petals showing up and move due to gravity, I want them to spread around in the area not just start from origin. So I do this
- Add "Position within sphere random" in Initializer to position my petals.Now, there are two ways to approach how you initialize this function.
- First way is to manually adjust the value in particle editor.- Second way is to bind it to the control point.
I will explain the first way since I will use it statically in my hammer (adjusting these control points in hammer is hell.)
Now I want them to start within certain radius and start with certain speed. I change following values.
| Field | Value |
|---|---|
| distance min | 0.0 |
| distance max | 1500.0 (maximum radius you want to cover) |
| distance bias absolute value | 0.0 0.0 0.7 (since I only want them to show up on the top half of sphere) |
| speed min | 10 |
| speed max | 10 |
| speed in local coordinate system min | 0 0 -20 |
| speed in local coordinate system max | 0 0 -20 |
If you want to bind these value to control point, simply change scale CP, in which (x, y, z) will represent (distance, speed, local speed), to desired control point and set all the above value to 1.0 except distance min and distance bias absolute value. Now that it is done, you should see something similar to the following.
Now I feel like these petals lack natural feeling to it. So I add the randomness to this system by following functions.
- Add "Rotation random" in Initializer.- Add "Alpha random" in Initializer.
- Add "Lifetime random" in Initializer.
- Add "Radius random" in Initializer.
Now you have to go in each function and adjust the value to your taste. The followings are the settings I use in this tutorial.
Rotation random
- default valueAlpha random
People won't like it if these petals will obstruct the view of the players so I set the values as follows.
| Field | Value |
|---|---|
| alpha min | 100 |
| alpha max | 150 |
Lifetime random
The petals should disappear at different time so I set the values as follows.
| Field | Value |
|---|---|
| lifetime min | 1.5 |
| lifetime max | 3.0 |
Radius random
In reality, petals are not the same size everywhere, so I set the values as follows.
| Field | Value |
|---|---|
| radius min | 10.0 |
| radius max | 20.0 |
Once those are all set, you should see the result similar to below.

Now that you see randomness at creation, but the sudden pop in and out is kinda annoying to me. So I get rid of them by:
- Add "Alpha fade in simple" in Operator.- Add "Alpha fade out simple" in Operator.
I left those value as default as I think it's already much better than earlier. You can freely adjust those values as you like.
Now the petals fall and fade in and out, we want them to rotate as they go so it looks more natural. To do so, add the following function.
- Add "Rotation basic" in Operator.- Add "Rotation spin roll" in Operator.
And now adjust the values of Rotation spin roll and leave Rotation basic as default.
| Field | Value |
|---|---|
| spin rate degree | 10.0 |
So now the petals start spinning, I want to make them get smaller as they go to reduce some blocking vision to players. So I add:
- Add "Radius scale" in Operator.However, I don't want them to start right away and the petals don't just go back to 0.0 scale, so I adjust the following values:
| Field | Value |
|---|---|
| start time | 0.5 |
| end time | 1.0 |
| radius start scale | 1.0 |
| radius end scale | 0.4 |
Now you should have something looking similar to this.

Now it almost looks natural but it lacks wind. Normally when petals fall down, it should somewhat be affected by the wind. To achieve this, I add the following function:
- Add "Noise Vector" in Operator.You should now see your petals blinking with different color. Don't panic. We haven't adjusted the value yet so it's set to default that way. Now I want to adjust so the noise will add into my sprite as it goes with randomness. So I set the values to the following:
| Field | Value |
|---|---|
| output field | Position |
| output minimum | -10.0 -10.0 -10.0 |
| output maximum | 10.0 10.0 10.0 |
| noise coordinate scale | 0.2 |
| additive | true |
Now with this, your falling petals should look very natural, and you can adjust all those values as you desire. The result particles should be similar to the following.
This reaches the end of this tutorial.